How to Seamlessly Migrate Your WordPress Website to a New Server
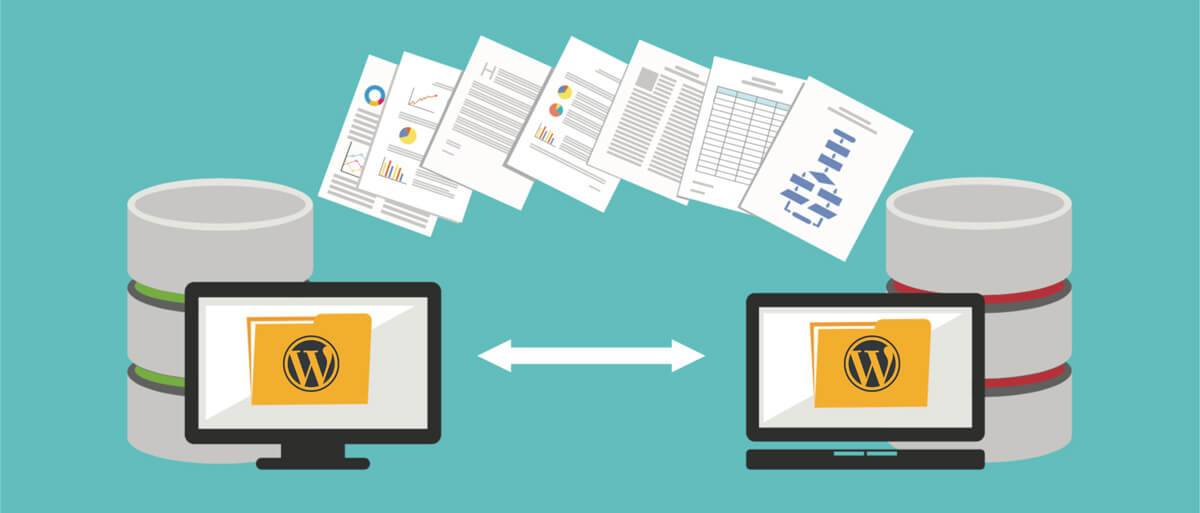
Careful consideration must be given when migrating a WordPress website to a new server. Because WordPress uses server-side scripts to retrieve content from a database, you can’t just copy your website’s files from the old server and upload them to the new server. Migration requires a little more work.
WordPress Migration Options:
- Hire an experienced WordPress web design company.
- Do it yourself. It’s not very complicated.
Even if have little or no experience with server management, though, you can seamlessly migrate your WordPress website to a new server in a few easy steps.

Step 1) Copy Files and Database
To begin, you must copy all your website’s files and its database and save them to your computer. You can access your website’s files by connecting to the old server with a File Transfer Protocol (FTP) program, such as WinSCP or FileZilla. Once connected, navigate to the folder containing your website — the folder should have the same name as your site — and select the option to download the folder and all its files from within the FTP program.
With the files saved to your computer, it’s time to copy the database. Log in to your old server’s control panel and click on the icon or link for phpMyAdmin. In the left-hand menu of phpMyAdmin, find your website’s database and click the adjacent box to select it. Clicking the “Export” button at the top of phpMyAdmin will then save the database to your computer.
You can use a plugin to copy your website’s files and its database as well. BackWPup and Duplicator are both capable of performing complete backups. Regardless, make sure you copy all of your website’s files and its database and save them to your computer.
Step 2) Add Domain to New Server
After creating a complete backup, add your domain to the new server. All web hosting control panels offer domain management. While logged in to your new server’s control panel, click the icon or link for addon domains. In the new domain field, enter your website’s domain.
If you haven’t purchased a new web hosting plan yet, you don’t need to create an addon domain. Web hosting plans require the use of a primary domain while providing the option for addon domains. When you subscribe to a new web hosting plan, you can use your website’s domain as the primary domain. If you use a different primary domain, on the other hand, you’ll need to create an addon domain from which the new server’s control panel.
Step 3) Point Domain to New Server
You can now point your domain to the new server. Domains work in conjunction with nameservers, which are defined by servers. Both the old and new server have nameservers. To migrate your website, you must edit your domain’s nameservers so that they reflect those used by the new server.
You can find the new server’s nameservers by logging in to the control panel. Alternatively, you can check for an order confirmation email from the web host. Once you’ve found the new server’s nameservers, log in to your registrar account and add them to your domain. In most registrars, the option to edit nameservers is found under the domain’s Domain Name System (DNS) settings.
Step 4) Create a New Database
In the control panel of your new server, create a new database. You should already have a copy of your website’s database, but you can’t just upload it to the new server. Instead, you must create a new database, after which you can import your website’s existing database into it.
To create a new database, log in to your new server’s control panel and click the icon or link for MySQL databases. After creating a new database, find the option to add a user to it. If this is your first time creating a database on the new server, you’ll have to create a new user. When finished, make a note of the new database’s name, the name of the user added to it and the password of the user.
Step 5) Upload Files and Importing Database
Migration, of course, requires uploading your website’s files and importing its database to the new server. File uploading is performed with an FTP program. Connect an FTP program to the new server and open the folder for your website’s domain. The folder should be empty. Within the same FTP program connection, search for your website’s copied folder under the local navigation section. Open this locally stored folder, highlight all of the files and select the upload option. Your website’s files should now be uploaded to the new server.
You can import your website’s database using phpMyAdmin. Go to phpMyAdmin from the new server’s control panel. In the left-hand menu, select the new database that you created in the previous step. Clicking the “Import” button at the top of phpMyAdmin will allow you to select your website’s database, which is stored on your computer.
Step 6) Configure Database Settings
Your website won’t work if you simply import the database. WordPress uses a configuration file to connect to a database. Since the new server has a new database, you must edit this configuration file. With an FTP program, connect to the new server and open the folder containing your website’s files. Search for a file named “wp-config.php” within this folder and select the option to edit it.
The FTP program will then launch the “wp-config.php” file in an editing program. While viewing this file, search for the following entries: “DB_Name,” “DB_USER” and “DB-PASSWORD.” To the right of the “DB_Name” field, delete the name of the old database and replace it with the name of the new database. Repeat this process for the “DB_USER” and “DB-PASSWORD” entries. The former entry should be the name of the user added to the new database. The latter entry should be the password of the new user. After saving and uploading the “wp-config.php” file to the new server, your website should now work.
Buying a new web hosting plan for a WordPress website is easy. The difficult part is migrating from the old server to the new server. Companies like our hosting partner, WP Engine, make transferring files fairly quick and painless using their automated tool.


